How to Hang a Heavy Mirror: What to Know Before Installation
Before hanging a heavy mirror, check its real weight, frame hardware, wall construction, mounting location, and the capacity of every component in the support system.
Quick answer
A heavy mirror should be treated as a complete support system, not just a wall-anchor decision. The frame, hardware on the mirror, wall fasteners, wall material, spacing, and installation method all have to work together.
- Confirm the mirror’s actual weight instead of estimating by size.
- Identify whether the wall is drywall, plaster, masonry, tile, or another assembly.
- Inspect the frame and factory-installed hardware before trusting it.
- Use hardware intended for the wall type and rated for the full load.
- Plan two-person lifting for a mirror that is large, awkward, or difficult to grip.
A fastener’s package rating is not a guarantee for every wall. The finished installation is limited by its weakest part, which may be the wall surface, the frame, the screws holding a bracket to the frame, or the way the load is distributed.
Five things to confirm before making a hole
| Check | Why it matters |
|---|---|
| Mirror weight | Determines the minimum capacity needed from the complete mounting system. |
| Wall construction | Drywall, plaster, wood framing, metal framing, masonry, and tile need different drilling and fastening methods. |
| Back hardware | D-rings, wire, cleats, keyholes, and proprietary brackets transfer load differently. |
| Frame condition | Loose joints, thin backing, damaged screws, or a weak frame can fail even when the wall hardware is strong. |
| Wall location | Outlets, switches, plumbing fixtures, and other clues may indicate hidden utilities or limited drilling space. |
If the mirror came with manufacturer instructions, use those first. They may specify orientation, hanger spacing, required fasteners, or whether the attached hardware is designed for vertical, horizontal, or both installation directions.
Choose the hanging method from the mirror—not from the wall alone
Two D-rings
Two properly attached D-rings can place the mirror close to the wall and keep it stable. Measure each ring independently from the top and side of the frame. Do not assume the two rings were installed at exactly the same height.
Picture wire
Wire can make minor leveling easier, but the wire, crimps, D-rings, and frame screws all need adequate capacity. For a heavy mirror, two wall support points can distribute the load and reduce side-to-side movement. Check the wire periodically because it can stretch or loosen over time.
French cleat or metal cleat
A two-piece cleat spreads support across a wider section and can be a good option for a sturdy framed mirror. The mirror-side cleat must be secured to structural parts of the frame, not only thin backing material.
Factory bracket or keyhole plates
Use the exact spacing and screw-head clearance the bracket requires. Some systems must drop fully onto the fasteners; others include a locking step. Follow the mirror manufacturer’s instructions rather than substituting a similar-looking method.
Adhesive for frameless mirrors
Adhesive installation is a separate method for compatible frameless mirrors and substrates. The adhesive must be specifically approved for mirrors so it does not damage the reflective backing. Surface preparation, support during curing, and the manufacturer’s coverage and cure-time instructions matter.
Match the fastener to the wall
- Wood studs: often provide a strong attachment point when the screw size, embedment, and hanger are appropriate.
- Drywall without a stud: requires a compatible hollow-wall anchor installed in sound material and within the manufacturer’s limits.
- Plaster and lath: can crack or separate if treated like modern drywall; the lath type and framing location matter.
- Metal studs: need hardware and a load plan intended for thin steel framing; a standard wood lag screw is not a universal solution.
- Concrete, brick, or block: require the correct masonry bit, anchor, embedment, and suitable base material.
- Tile: requires careful drilling and a plan for the material behind the tile; avoid loading only the brittle finish layer.
“Do not choose an anchor only because its printed number exceeds the mirror’s weight. Confirm the wall, load direction, spacing, and installation conditions covered by that rating.”
Measure the actual hanging points
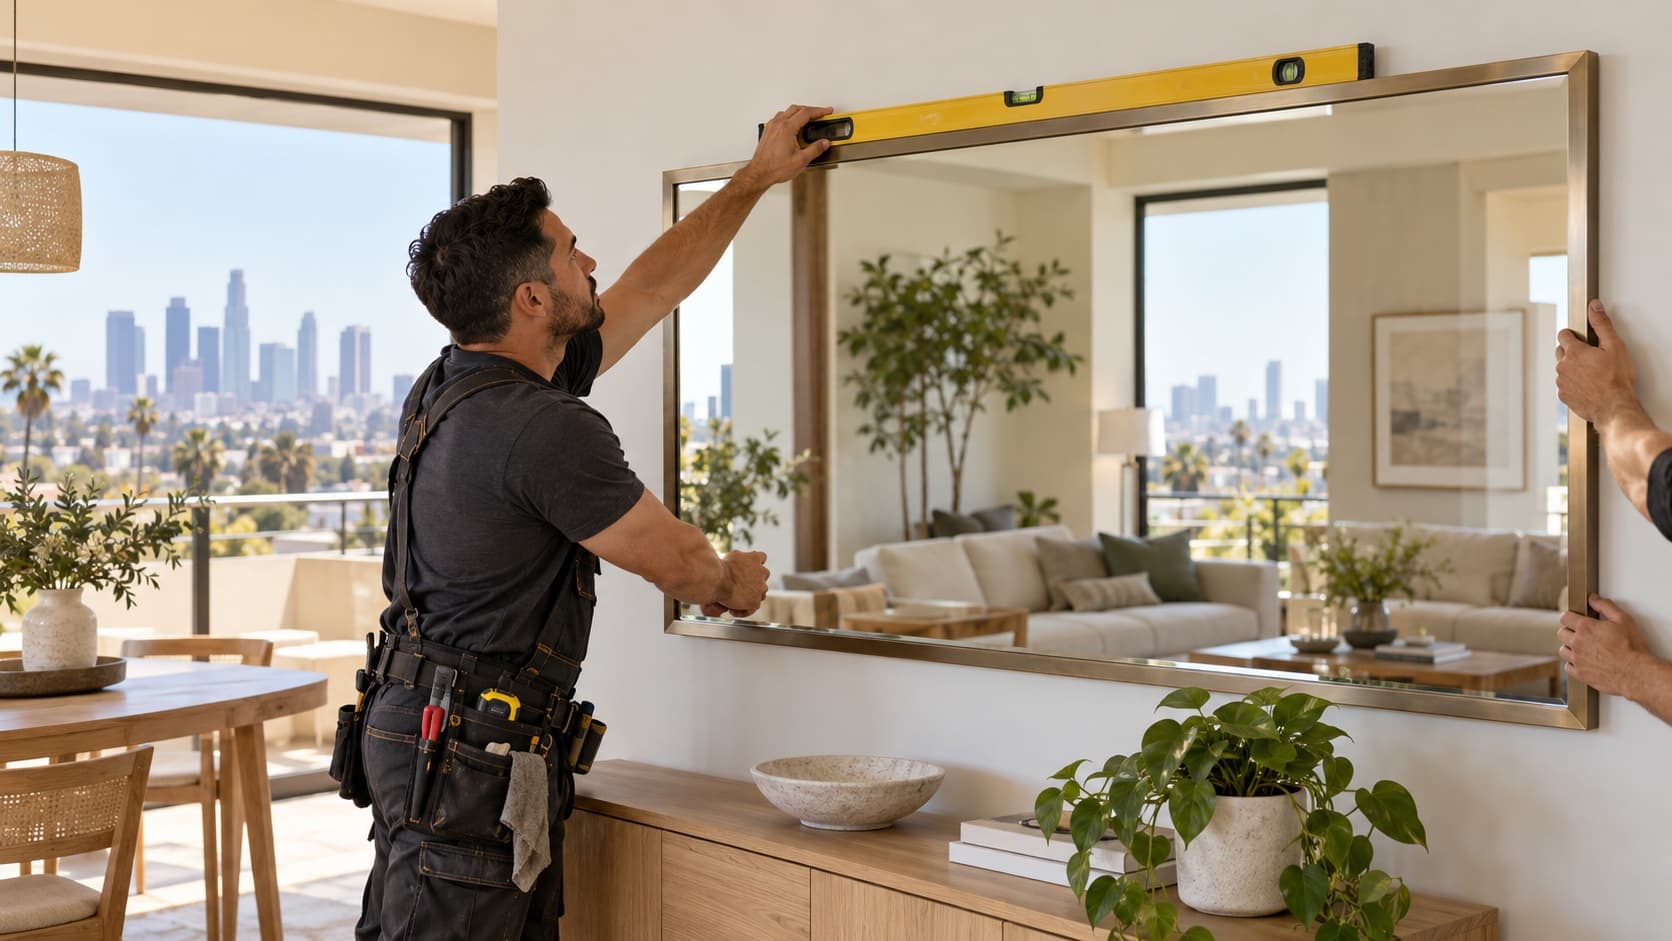
Start with the desired top edge and centerline of the mirror. Then measure from the top of the frame to the exact point where the wall hardware will carry the load. For wire, tension it at the planned support points while a helper supports the mirror. For D-rings or keyholes, measure each point separately.
- Mark the center and top edge with low-tack painter’s tape.
- Transfer the horizontal spacing between support points.
- Use a level to confirm the marks—not the ceiling, floor, or cabinet below.
- Recheck the height before drilling.
- After installing the hardware, test it firmly by hand before lifting the mirror into place.
Common heavy-mirror installation mistakes
- Guessing the weight instead of weighing the mirror.
- Using one wall hook for two widely spaced D-rings when the mirror was designed for two support points.
- Assuming plastic anchors included in the box are correct for every wall.
- Attaching a cleat only to thin fiberboard backing.
- Drilling near a switch, outlet, faucet, or plumbing wall without considering hidden utilities.
- Trying to lift and align a large mirror alone.
- Using ordinary construction adhesive on mirror backing.
- Skipping a final pull, level, and anti-lift check.
When professional installation makes sense
Professional help is especially useful when the mirror is oversized, valuable, frameless, mounted above furniture, installed on tile or masonry, or too heavy to position safely with the available helpers. It also helps when the wall construction is uncertain or the mirror’s factory hardware looks inadequate.
For a preliminary estimate, send a photo of the mirror front and back, its dimensions and weight, a wide photo of the wall, the desired height, and any building or rental restrictions.
Frequently asked questions
Does a heavy mirror have to go into a stud?
Not always. A stud is often useful, but a correctly selected hollow-wall system may be suitable when a stud does not align with the desired location. The answer depends on the mirror, wall, anchor, and support pattern.
Can I use the hardware included with the mirror?
Only after confirming that it matches your wall type and installation conditions. Included hardware is not automatically universal.
Is picture wire safe for a heavy mirror?
It can be when the mirror manufacturer allows it and every wire-system component is appropriately rated and correctly attached. Direct D-rings or a cleat may provide a more stable, close-to-wall result.
Should renters ask before installing a mirror?
Check the lease and building rules before drilling, using anchors, or applying adhesive. Heavy mirrors usually need more than a removable strip.