IKEA PAX Assembly: What to Know Before Installation
Measure the room, identify the exact PAX system, and confirm every component before wardrobe assembly begins.
Quick answer
Successful IKEA PAX assembly starts before the first frame is opened. PAX is a modular system, so ceiling clearance, wall construction, floor level, baseboards, door type, room access, and missing components can all change the installation plan.
Before installation, confirm these seven items:
| Check | Why it matters | What to provide |
|---|---|---|
| Exact PAX version | Frames, hardware, and sequences differ | Article numbers and current instructions |
| Ceiling height | Upright assembly and doors need clearance | Lowest floor-to-ceiling measurement |
| Wall and baseboards | Determine rail position and fasteners | Clear wall photos and known wall type |
| Floor level | A slope changes frame and door alignment | Note visible slopes or uneven flooring |
| Room access | Long panels must reach the installation area | Door, hallway, stair, and elevator constraints |
| Complete order | Doors and interiors may be separate packages | Planner list, article numbers, and box count |
| Final configuration | Doors, corners, and lighting affect sequence | Final PAX Planner design |
Confirm the exact PAX system
PAX frames vary by width, depth, height, door system, and generation. Search every article number on IKEA's website and open Product details, then Assembly & documents; do not use instructions for a similar-looking frame.
Current U.S. foldable wall-mounted frames are assembled in position and mounted with an included rail. Older versions may use a different sequence. Keep the final PAX Planner design and shopping list with the instructions.
Measure the ceiling, not just the frame
A frame that is shorter than the ceiling can still be incompatible with the planned assembly or door system.
Current U.S. IKEA listings give these examples for foldable wall-mounted PAX frames:
| Current frame height | Minimum for upright assembly | Minimum with sliding doors |
|---|---|---|
| 79 1/8 in. frame | 79 1/2 in. | 80 3/4 in. |
| 92 7/8 in. frame | 93 1/4 in. | 94 1/2 in. |
These are product-specific examples, not a universal rule. Verify every article number, then measure floor to ceiling at the left, center, and right of the run and use the lowest result.
Survey the full wall and floor
Measure wall width at the floor, middle, and ceiling. Record baseboard depth, outlets, switches, vents, trim, nearby door swing, sprinklers, soffits, sloped ceilings, and other obstructions.
A thick baseboard can hold the frame away from the wall, while a floor slope can change the gaps between connected frames. Check level across the complete run. Adjustable feet can compensate for some irregularity, but the frames must be level and aligned before door and drawer adjustments.
Identify the wall material before drilling
Drywall over wood or metal studs, plaster, masonry, and tile require different fasteners. IKEA states that suitable screws and plugs must be selected for the actual wall; an included rail does not mean universal wall fasteners are included.
Before drilling, consider concealed wiring, plumbing, blocking, and uneven plaster. A stud finder reading alone may not identify the complete wall assembly.
Treat the wall rail and anchoring as part of the installation
Current foldable wall-mounted PAX frames must be mounted with the included rail. It must be level, positioned according to the current instructions, and secured with wall-specific fasteners. This is part of the installation and tip-over protection, not a cosmetic final step.
Corner configurations require their own sequence. Current IKEA product guidance states that the corner add-on unit is installed first for compatible foldable PAX layouts. Use the revised online instructions for the exact corner combination rather than improvising the order.
Confirm every box and component
A complete order may have separate packages for frames, rails, doors, hinges, tracks, drawers, shelves, baskets, handles, connectors, and lighting. IKEA notes that doors, hinges, and interiors are sold separately for many frame listings.
Compare every article number and quantity with the planner list. Group packages by frame and sequence instead of opening everything at once.
Plan the assembly sequence and workspace
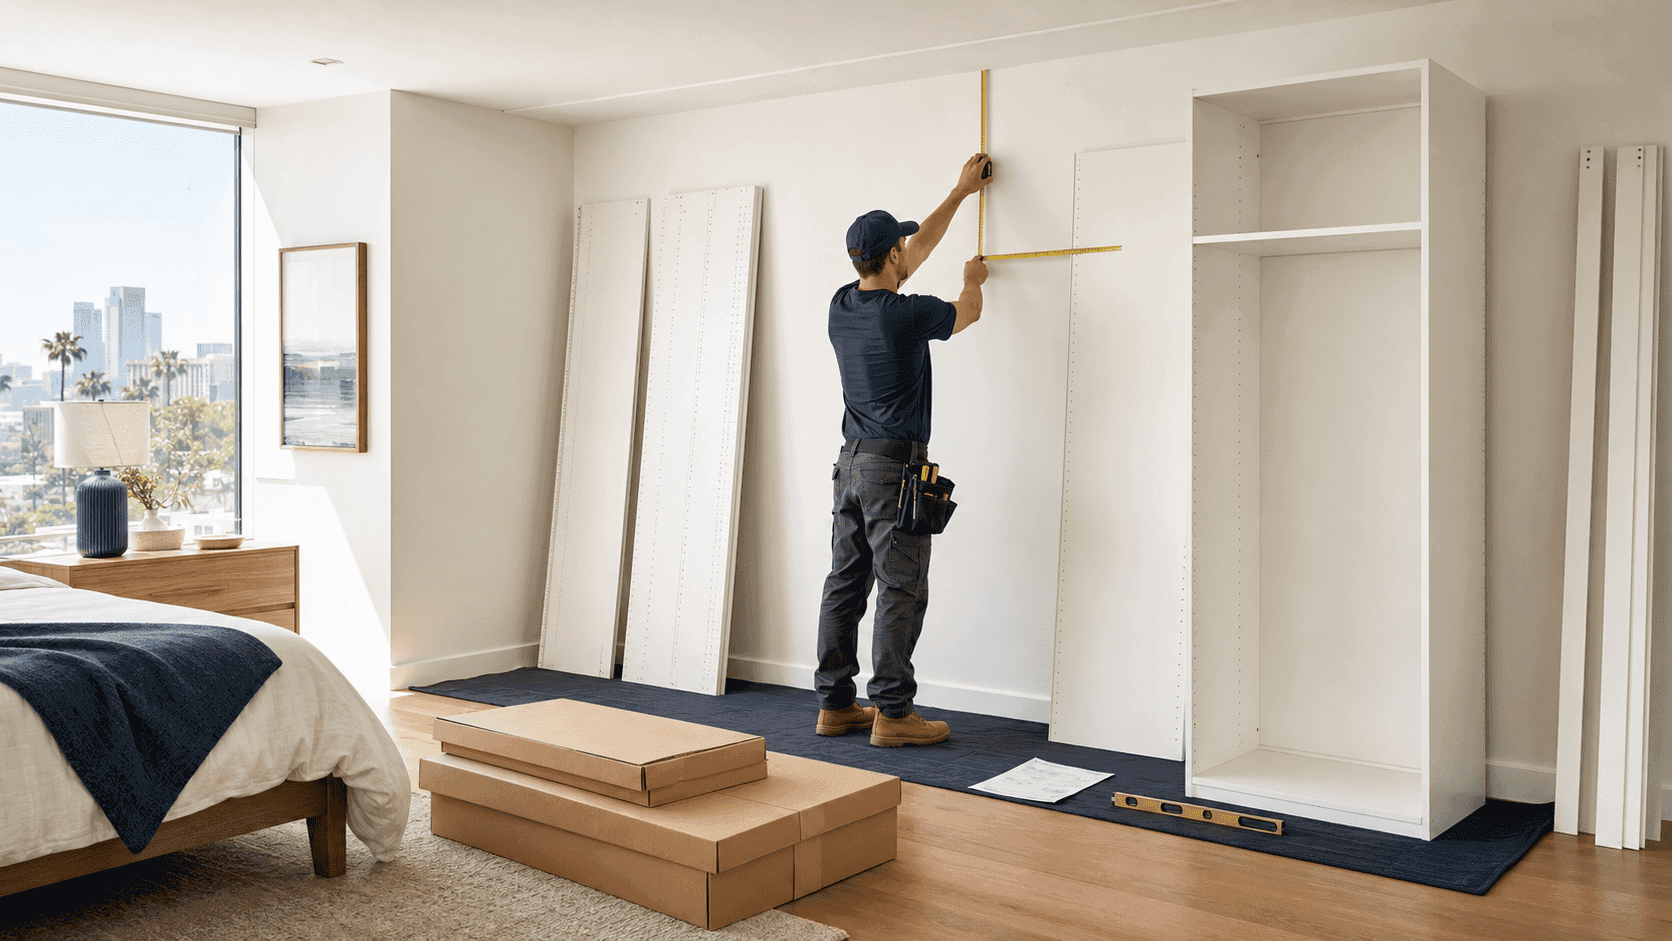
Clear the wall and enough floor area to handle the longest panels safely. Protect the floor and remove rugs, loose boxes, and fragile furniture.
The exact manual controls, but a typical quality-control sequence is:
- Verify article numbers, boxes, damage, and instructions.
- Mark the final frame layout and assess the wall.
- Install the rail or required wall hardware in the specified order.
- Assemble, hang, level, and connect the main frames.
- Confirm the complete run is square and aligned.
- Install interior organizers and door systems in the instructed sequence.
- Adjust doors and drawers only after the frames are level.
- Test lighting and moving components before loading the wardrobe.
Current PAX product pages state that two people are needed. Tall panels and partially assembled frames can rack if handled incorrectly.
Check doors, lighting, and access
Hinged doors need swing clearance; sliding doors need the correct frames, tracks, and ceiling clearance. Plan outlets and lighting cables before the wardrobe covers the wall, and keep plugs and power supplies accessible.
The longest cartons and panels must also pass through elevators, stairs, hallway turns, and room doors.
When professional PAX assembly makes sense
Professional installation is especially useful for connected or corner layouts, sliding doors, limited clearance, difficult wall materials, uneven floors, integrated lighting, or a previous attempt with damaged parts.
Need IKEA PAX assembly in Los Angeles?
DrillWorks assembles and installs compatible PAX wardrobe systems across Los Angeles, including frame alignment, wall-rail mounting, doors, drawers, organizers, and selected lighting components.
Send the PAX Planner design, article numbers, box count, ceiling height, wall photos, known wall type, and door configuration for a clearer estimate.
Frequently Asked Questions
Can PAX be assembled upright?
Some current PAX frames are designed for upright assembly when the room meets the minimum ceiling height in the exact product listing and instructions. Do not apply one frame's clearance to another version.
Does IKEA PAX have to be secured to the wall?
Current wall-mounted PAX product guidance states that the frame must be secured using the included rail or specified anchoring system. Follow the exact instructions for the article number.
Are wall fasteners included with PAX?
The rail or anchoring device may be included, but IKEA states that different wall materials require different fasteners. Suitable screws and plugs must be selected for the actual wall.
Can one person assemble a PAX wardrobe?
Current U.S. PAX product pages state that two people are needed for assembly.
Do PAX doors and interior organizers come with the frame?
Often they do not. Many frames list doors, hinges, and interiors as separate products. Confirm the complete planner list and box count before installation.