The Most Common Furniture Assembly Mistakes
Learn why flat-pack furniture ends up crooked, loose, or damaged, and the assembly order that prevents the most common problems.
Quick answer
Flat-pack furniture usually goes wrong in predictable ways: a panel is reversed, similar hardware gets mixed together, the frame is tightened before it is square, or particleboard connectors are driven too far.
These problems are easier to prevent than to correct after the doors, drawers, and back panel are installed.
Follow the exact product instructions and use this sequence as a quality-control check:
| Common mistake | What it causes | Better approach |
|---|---|---|
| Missing box or mixed hardware | Stalled assembly or damaged panels | Confirm every carton; sort parts by step |
| Reversed panel | Holes, slides, or finished edges in the wrong place | Check faces, grooves, and mirrored sides |
| Tightening too early | Later holes no longer align | Start connections, align the full frame, then tighten |
| Too much torque | Stripped core, spinning cam, or surface bulge | Stop when seated; finish delicate hardware by hand |
| Crooked back panel | Racked cabinet and uneven gaps | Square the frame before securing the back |
| Adjusting before leveling | Doors and drawers remain uneven | Level first, then adjust and anchor |
Before the first fastener
1. Check every box and panel
Large products may arrive in multiple numbered packages. Confirm the model, color, size, and carton count. IKEA advises checking every package because one item may be split between boxes.
Inspect finished surfaces, corners, predrilled holes, drawer parts, and glass. Keep the receipt and packaging until the unit is complete and tested; the cardboard also protects the work surface.
If a critical part is missing or damaged, stop. Building around it may require disassembling finished work later.
2. Sort hardware by step
Cam locks, dowels, screws, hinge fasteners, and drawer hardware can look similar. Separate them into labeled groups and compare each piece with the diagram. A slightly longer screw in the wrong hole can pierce a finished panel or block another component.
3. Protect the floor and panels
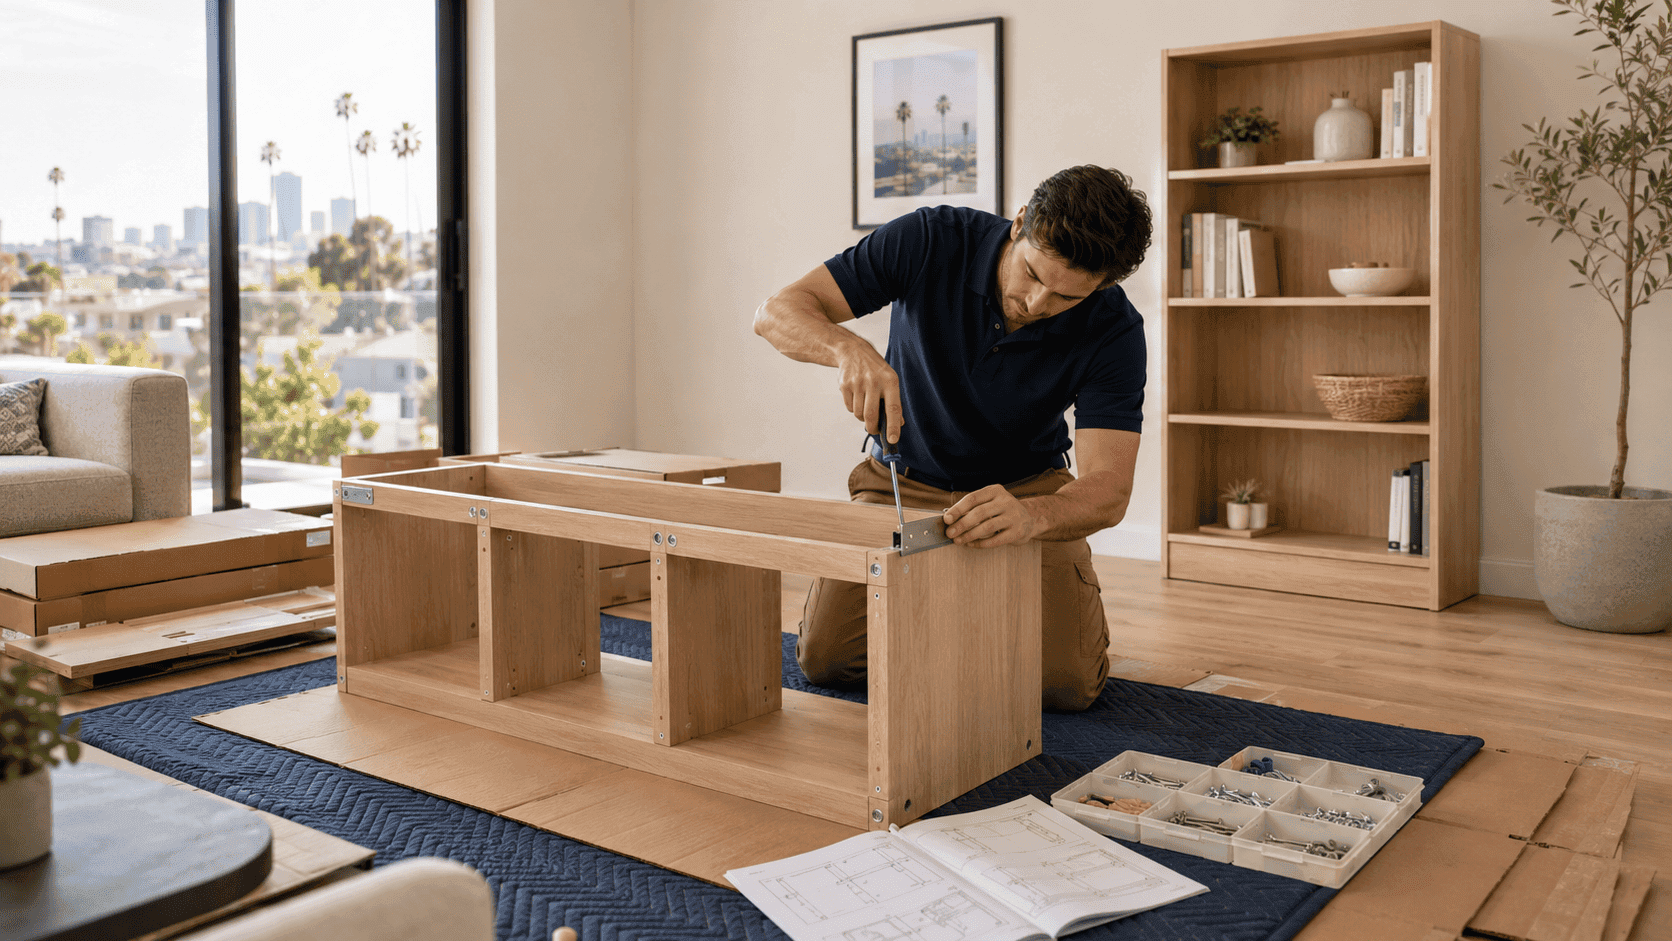
Assemble on clean cardboard, a moving blanket, or a mat. Check underneath panels for screws, staples, or grit. Build the main frame on a flat surface whenever possible; an uneven floor can make a square cabinet look twisted.
Assemble in the right order
4. Confirm panel orientation
Finished edges, grooves, connector holes, drawer-slide positions, and toe-kick cutouts determine which side faces front, back, up, or down.
Before tightening, confirm that:
- finished edges will remain visible;
- unfinished edges will be hidden;
- the back-panel groove faces the rear;
- paired side panels mirror each other; and
- drawer or hinge holes face the correct direction.
A reversed panel may not become obvious until the doors or back no longer fit.
5. Start connections before final tightening
Begin connectors by hand and bring the frame together evenly. Unless the instructions say otherwise, leave enough movement for the remaining panels and rails to align.
If holes appear misaligned, recheck the preceding steps instead of forcing the fastener. The cause is often a reversed panel, early tightening, or incorrect hardware.
6. Do not overtighten particleboard
Particleboard and fiberboard do not behave like solid wood. Excessive torque can strip the core, spin a cam fitting, crush the surface, or create a visible bulge.
Stop when the connector is seated. If a screw turns without tightening, remove the load from that joint and inspect it instead of driving deeper.
If the instructions allow a drill, use the correct bit, slow speed, and a low clutch setting. Finish delicate cam locks and small hardware by hand. An impact driver is usually too aggressive for typical flat-pack connectors unless the manufacturer explicitly calls for one.
Square the frame before securing the back
The back panel often resists side-to-side movement. Installing it while the cabinet is racked can lock the unit out of square.
For a rectangular cabinet, check the corners and compare both diagonals when practical. Equal diagonals indicate a square frame. Then secure the back using the order and spacing in the instructions.
Level first, then adjust doors and drawers
Move the unit carefully into position, set the adjustable feet, and confirm that it is level and stable. Only then fine-tune hinges, drawer fronts, or door gaps.
Hinge adjustments cannot correct a cabinet twisted by an uneven floor. After normal loading, recheck the gaps, feet, and any fasteners identified by the manufacturer.
Do not skip required wall anchoring
Dressers, wardrobes, bookcases, and other tip-prone furniture may require an anti-tip restraint. The U.S. Consumer Product Safety Commission recommends following manufacturer instructions and securing top-heavy furniture.
Use the designated furniture attachment point and hardware suitable for the actual wall. Drywall, wood studs, metal studs, plaster, and masonry may require different fasteners. Do not attach only to a thin decorative back unless the instructions identify it as the approved point.
Signs the assembly needs correction
- The frame rocks on a level floor.
- Door or drawer gaps change from top to bottom.
- Drawers bind, scrape, or open by themselves.
- The back panel bows or pulls away.
- Cam locks will not remain seated.
- A panel bulges around a screw.
- The unit leans or twists after loading.
- The anti-tip restraint cannot reach its intended attachment point.
Stop before adding more weight. More force will not fix incorrect orientation, an out-of-square frame, or damaged particleboard.
When professional assembly makes sense
Professional help is useful when:
- the product has many boxes, doors, drawers, glass, or connected modules;
- the unit is too large to rotate or lift safely in the room;
- wall material must be assessed for anchoring;
- baseboards, outlets, or existing cabinetry affect alignment;
- a previous attempt stripped hardware or damaged a panel; or
- the furniture uses wall rails, powered components, or a complex modular layout.
Need furniture assembly in Los Angeles?
DrillWorks assembles flat-pack furniture for bedrooms, living rooms, offices, and storage areas across Los Angeles. We can also assess compatible wall anchoring and many incomplete assembly attempts.
Send the product link or model number, number of boxes, room location, and photos of any existing damage before scheduling.
Frequently Asked Questions
Why do flat-pack furniture doors look uneven?
The cabinet may be out of square, the floor may be uneven, a panel may be reversed, or the hinges may need adjustment. Level and square the frame before changing the hinge settings.
Should I use a drill for furniture assembly?
Only when the product instructions permit it. Use the correct bit, slow speed, and a controlled clutch setting; finish delicate connectors by hand.
Can stripped particleboard be repaired?
Sometimes. The correct repair depends on the connection, remaining material, load, and visibility. It may require replacement hardware, reinforcement, a new attachment point, or a replacement panel.
Should I keep the packaging?
Yes. Keep it until the furniture is fully assembled, adjusted, anchored when required, and inspected. Packaging identifies box numbers, protects panels, and helps if a part must be returned.